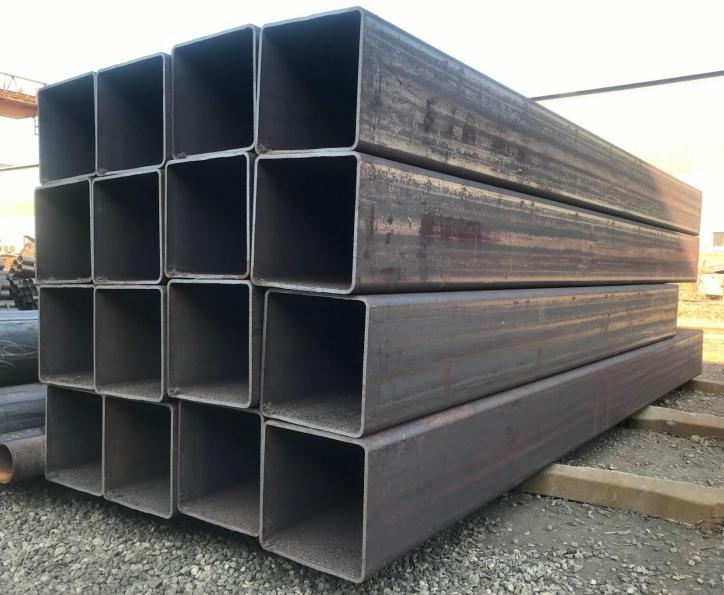
ASTM A500 — Carbon steel cold-formed round and special-shaped cross-section welded square tubes and seamless square tubes for structural use
Square pipe, or equal-length steel pipes, is also known as square tube. The majority of square tubes are made of steel and are used primarily for construction, decoration, and structural purposes.
The ASTM A500 standard is a common production standard for square tubes, and ASTM is the American Society for Testing and Materials.
After being processed, strip steel is rolled into ASTM A500 square tube and pipe. Typically, strip steel is unpacked, rolled into a square tube, cut to the desired length, and then flattened, curled, and welded into a round tube. A pack typically contains 50 pieces. There are two types of seams on square tubes: welded and seamless. Extruding seamless round tubes results in seamless square tubes.
Dimensional tolerance for ASTM A500 square tube:
1. External Dimensions: Measured at least two inches (5 cm) from the pipe end, external dimensions must not deviate from the necessary external dimensions by more than the appropriate amounts indicated in Table 3, which includes concave and convex tolerances.
2. Wall Thickness: 10% of the required wall thickness cannot be less than the minimum wall thickness measured at any point on the pipe. The pipe’s maximum wall thickness, including the welds, cannot be more than 10% of the necessary wall thickness. Only the center location’s wall thickness is covered by ASTM A500 square tubes.
3. Length: Multiple lengths, specified lengths, and indefinite lengths of five feet (1.5 meters) are the most common lengths for structural pipes. View the table that follows.
| Below 22 feet | Above 22 feet | |||
| above | below | above | below | |
| Length tolerance | 1/2(12.7mm) | 1/4(6.4mm) | 3/4(19.0mm) | 1/4(6.4mm) |
4. Straightness: The tolerance for structural pipe flatness is 1/8 inch divided by the total length in feet (10 mm times meters).
5. Square surface: The ASTM A500 square tube has a maximum allowable deviation of +2% and each adjacent side is at 90°.
6. Corner radius: Each ASTM A500 square tube interface’s outer corner cannot be larger than three times the necessary wall thickness.
7. Bending: The table below illustrates the permitted bend tolerance for ASTM A500 square tubes. A suitable measuring tool can be used to determine the degree of curvature. Alternatively, the degree of curvature can be calculated by fixing one end of the tube on the flat plate, measuring the height of each bottom corner from the opposite end of the tube, and calculating the degree of curvature (the different heights of these corners). Two inches (5 cm) away from the pipe end is too far to perform a bend test.
| Specified outside large flat dimension,in.(mm) | Maximum permissible variations in twist per 3 ft of length (twist per metre of length) | |
| In. | (mm) | |
| 11/2(40)and under | 0.050 | (1.3) |
| Over 11/2 to 21/2(40 to 65),incl | 0.062 | (1.6) |
| Over 21/2 to 4(60 to 100),incl | 0.075 | (1.9) |
| Over 4 to 6(100 to 150),incl | 0.087 | (2.2) |
| Over 6 to 8(150 to 200),incl | 0.100 | (2.5) |
| Over 8 (200) | 0.112 | (2.8) |
Post time: Oct-11-2023

